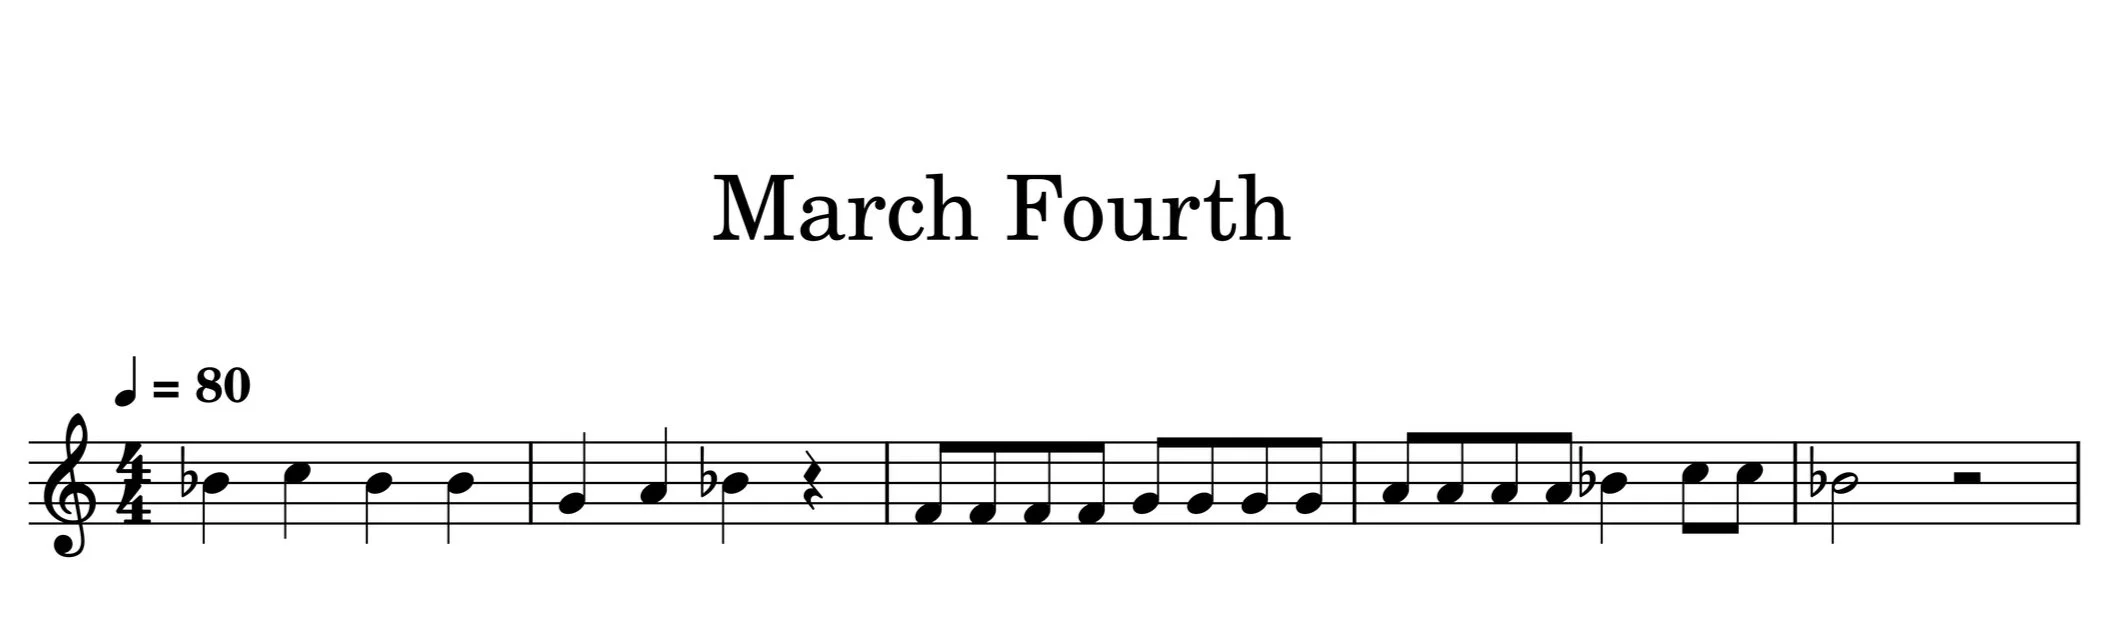
Chapter 5: Beginner Focus: The first notes!
IN THIS LESSON
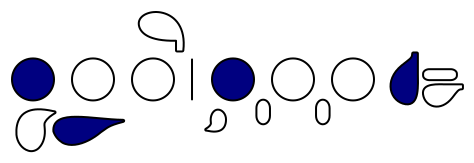
Learn six more notes to help take you up to the next step (B-flat, C, D, E-flat, fourth space E and top line F).
Bb:


Bb
C
Now let’s learn “B- flat(Bb)” and “C”. Much like you did in the first lesson of this chapter, learn the fingerings, practice long tones and use the exercise to become more comfortable with the new notes.
C:
D:


D
Second octave E and F
You have already learned the fingerings for the lower octave E and F, which is the same fingerings as the octave higher. To create these notes, use the same fingerings and direct your airstream a bit higher while creating an “ooh” shape. If you have one, now is a great time to utilize a Pneumo Pro which was referenced in Chapter 1. If you don’t have one, you can practice directing your airstream up and down using your hand.
To direct your airstream, practice on your Pneumo Pro or hand and transition between an “ah” shaped oral cavity and a more “ooh”shaped oral cavity to direct the air up and down. If you are struggling with directing it more up, try adding more “ooh”.
E
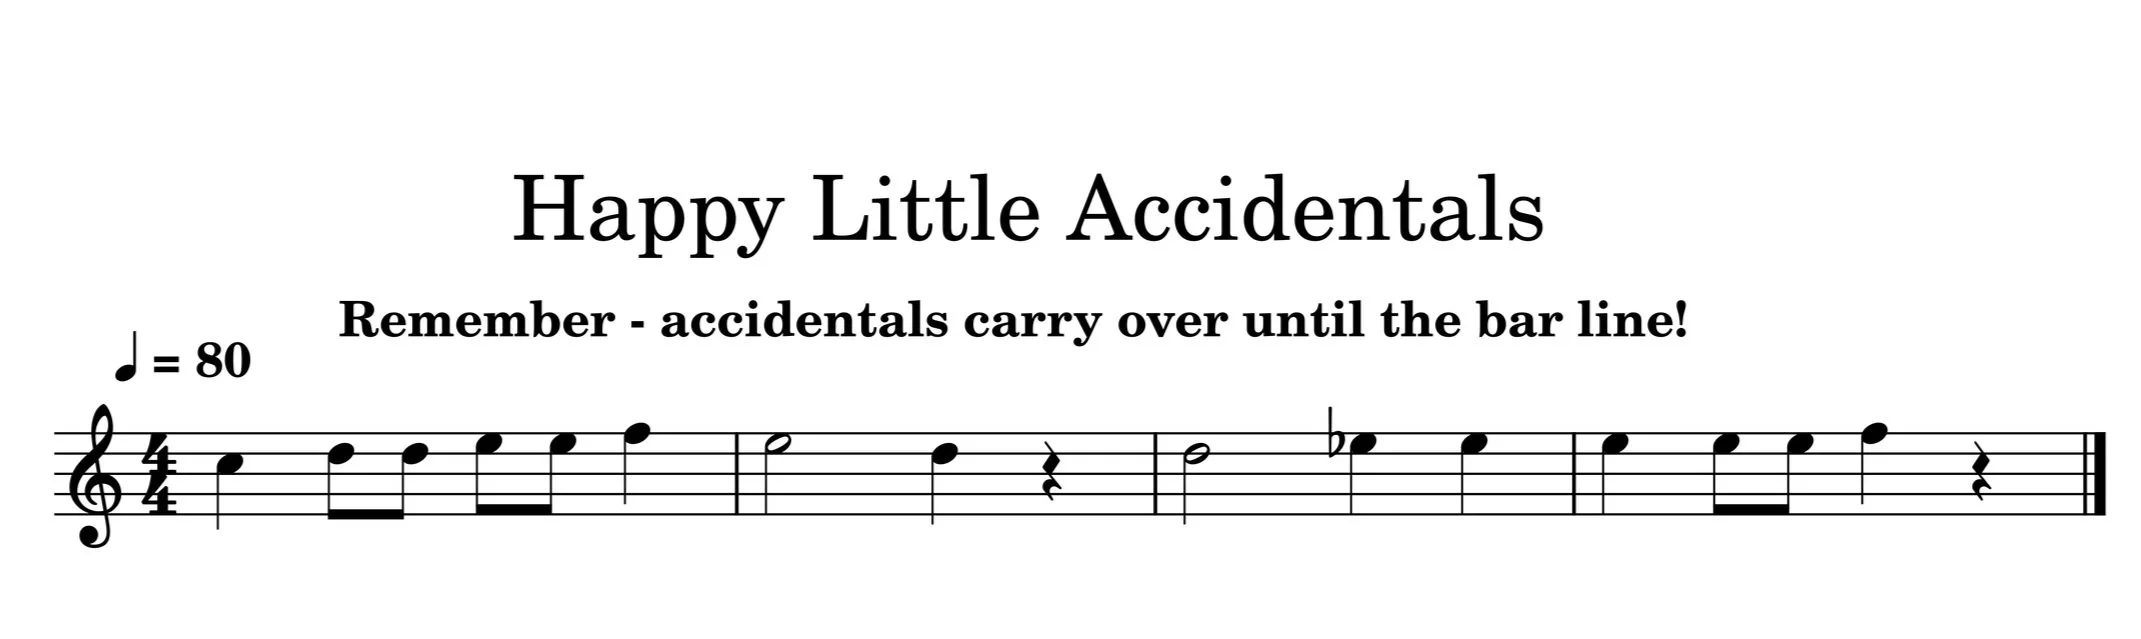
Now, try this exercise to work on these new notes while applying the rule of accidentals.
Eb

F
Finally, let’s get you up to 11 notes learned with “D”, “E-flat (Eb)”, fourth space “E”, and top line “F”. You already know the fingering for the “E” and “F”, but see below for how to create these new notes. As usual, play long tones then use the exercise below to to get comfortable with these new notes.