Chapter 4: Embouchure and Tone Production
IN THIS LESSON
Learn how to form the flute embouchure.
Make your first sound on the head joint only.
Forming the Embouchure
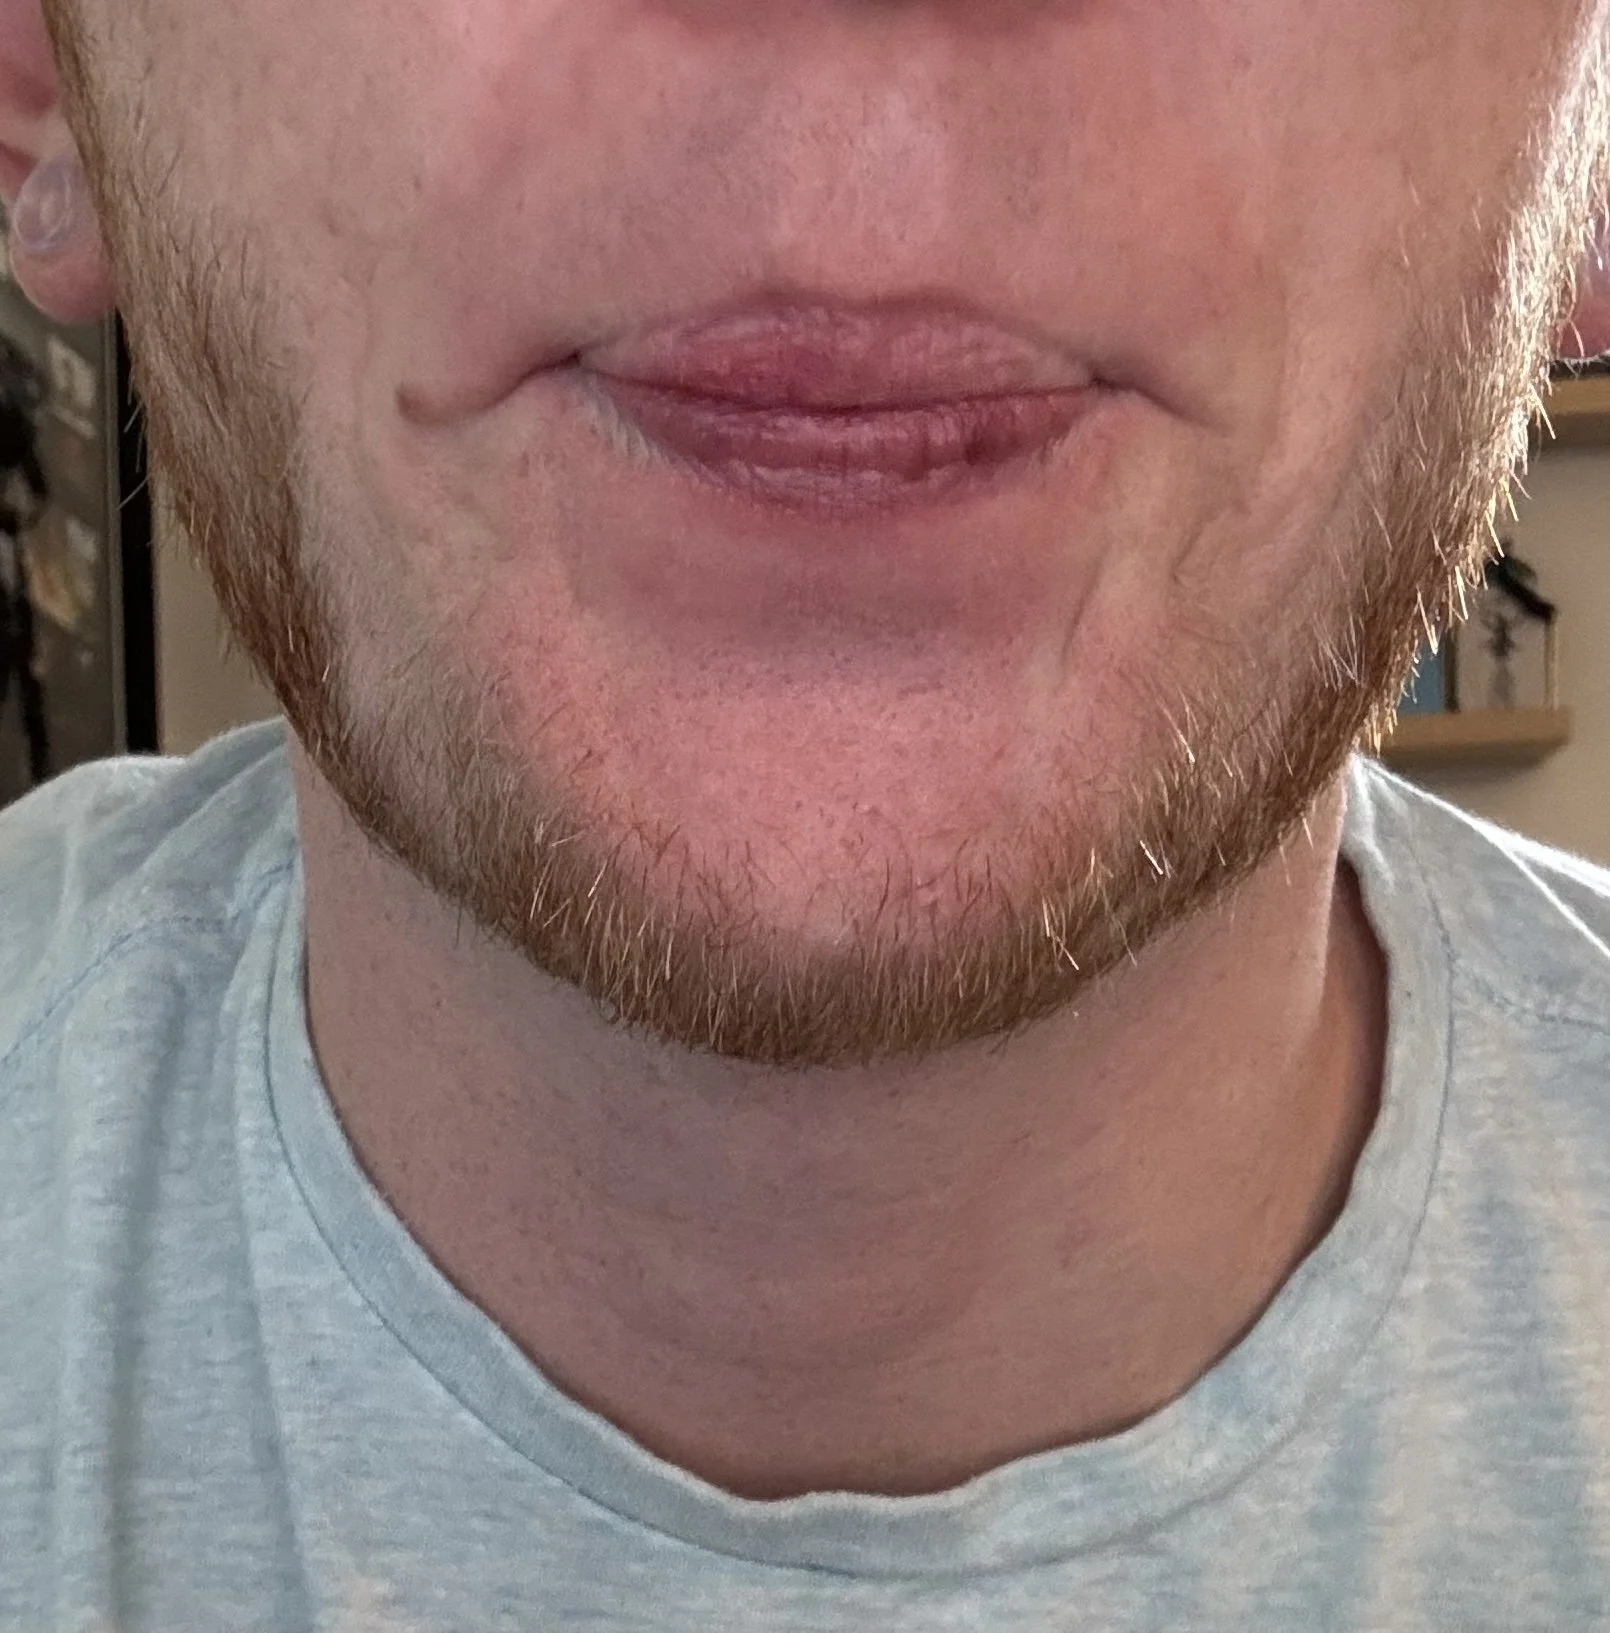
Step 2: say “pooh”
Head joint open
Articulation
To articulate properly on the flute, start by saying the word “tooh”. Take note of where your tongue touches your mouth. Ideally, the tip of the tongue should strike where the teeth and gums meet. Practice this by directing an airstream on to your hand and ensure the air can flow smoothly by getting the tongue out of the way quickly after starting the sound. To stop the airstream, do not change your oral cavity, and simply stop the flow of air. DO NOT put your tongue into contact with the articulation point. This is called stop tonguing (“tut”) and causes a choked off release which prevents resonance.
Exercise 1: Head joint covered - low “A”:

Exercise 2: Head joint uncovered - high “A”:

Step 1: Closed mouth

Incorrect: Opening in lips too open
Head joint closed
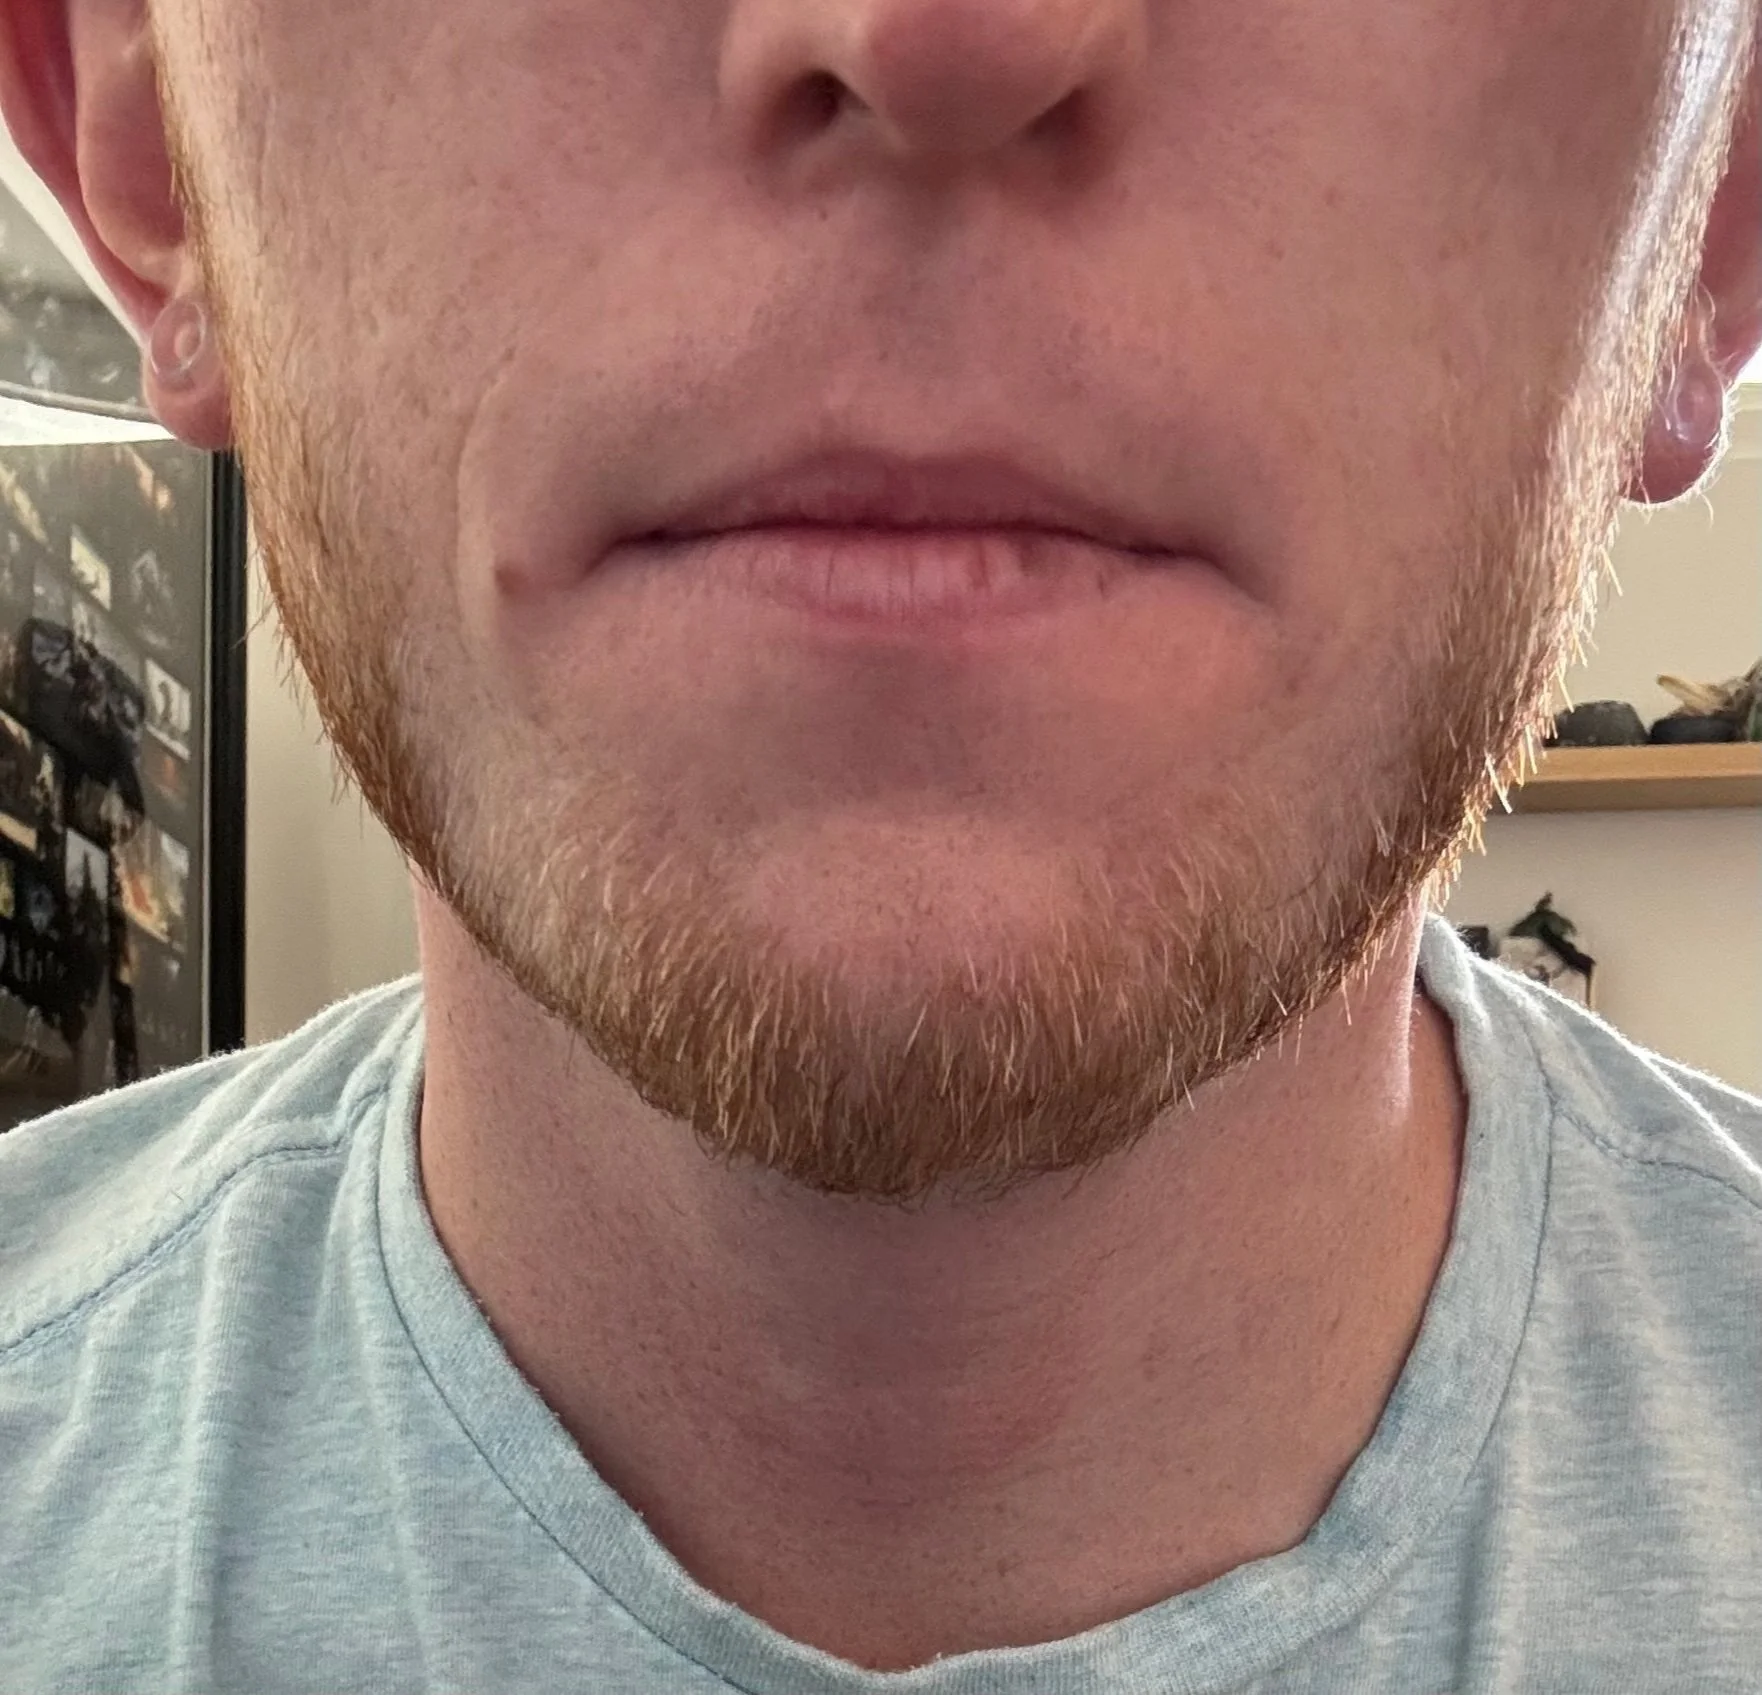
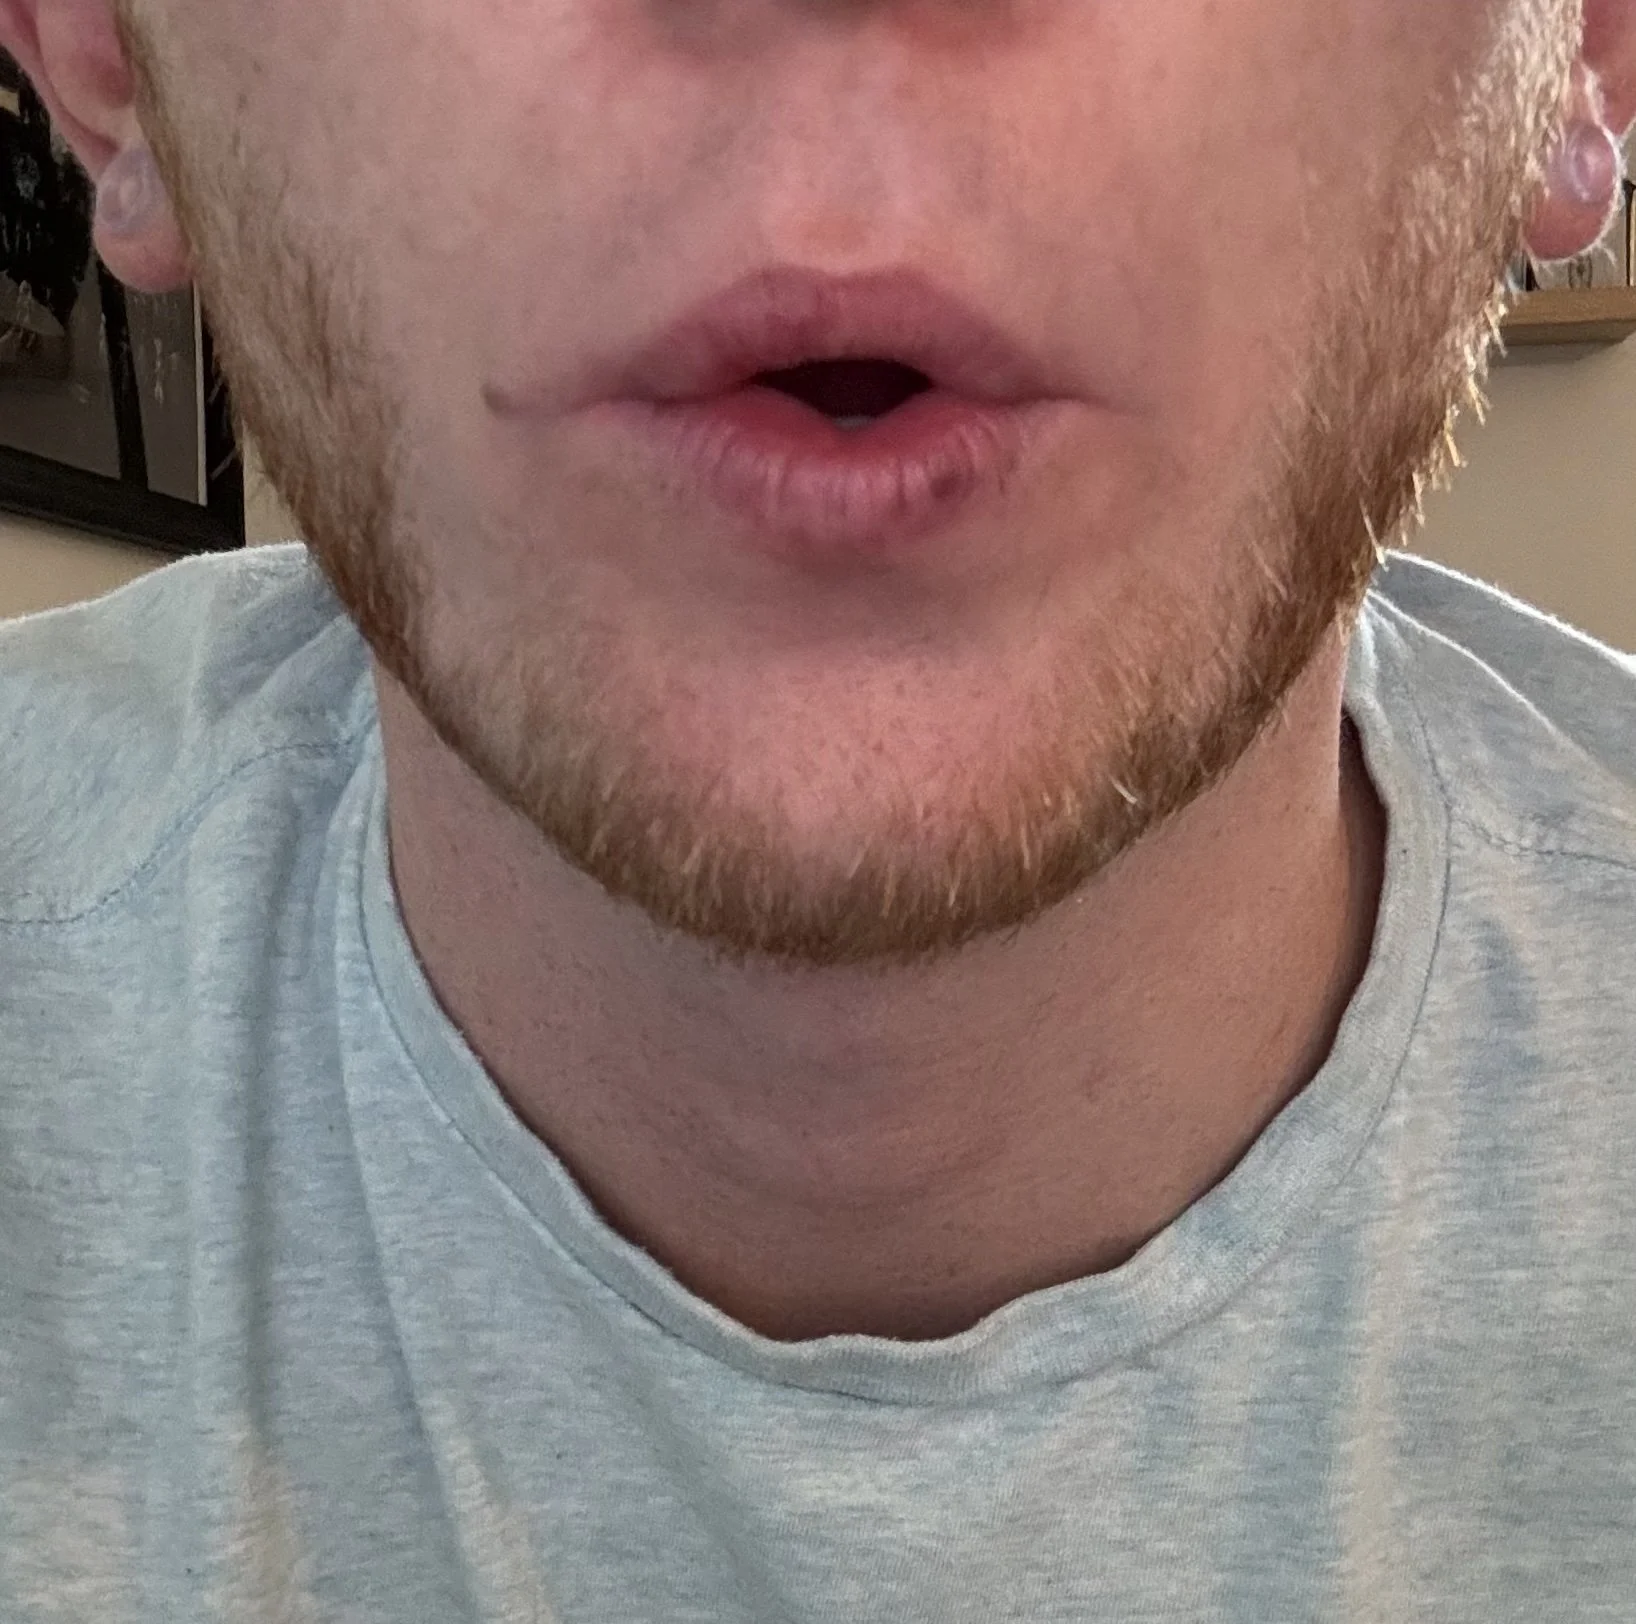
To form the Embouchure, start with closed lips, and say the word “pooh” to create a slightly forward position in your lips. Think about getting the lips slightly away off and away from the front teeth. Ensure there is space between your back teeth - imagine there are pencil erasers between your back molars.
The aperture, which is the opening in your lips, should be quite small (think of it being the size of a toothpick). Refer to the photos on the right for examples of correct embouchure and practice using a mirror!
DO NOT roll your lips inward or tighten your lips/corners as this will cause you to have and airy tone and play quite sharp.
Having an aperture that is too large will also prevent you from creating a tone on the flute.
Incorrect: Corners/ lips overly tight
Forming the Embouchure with the Head Joint Only
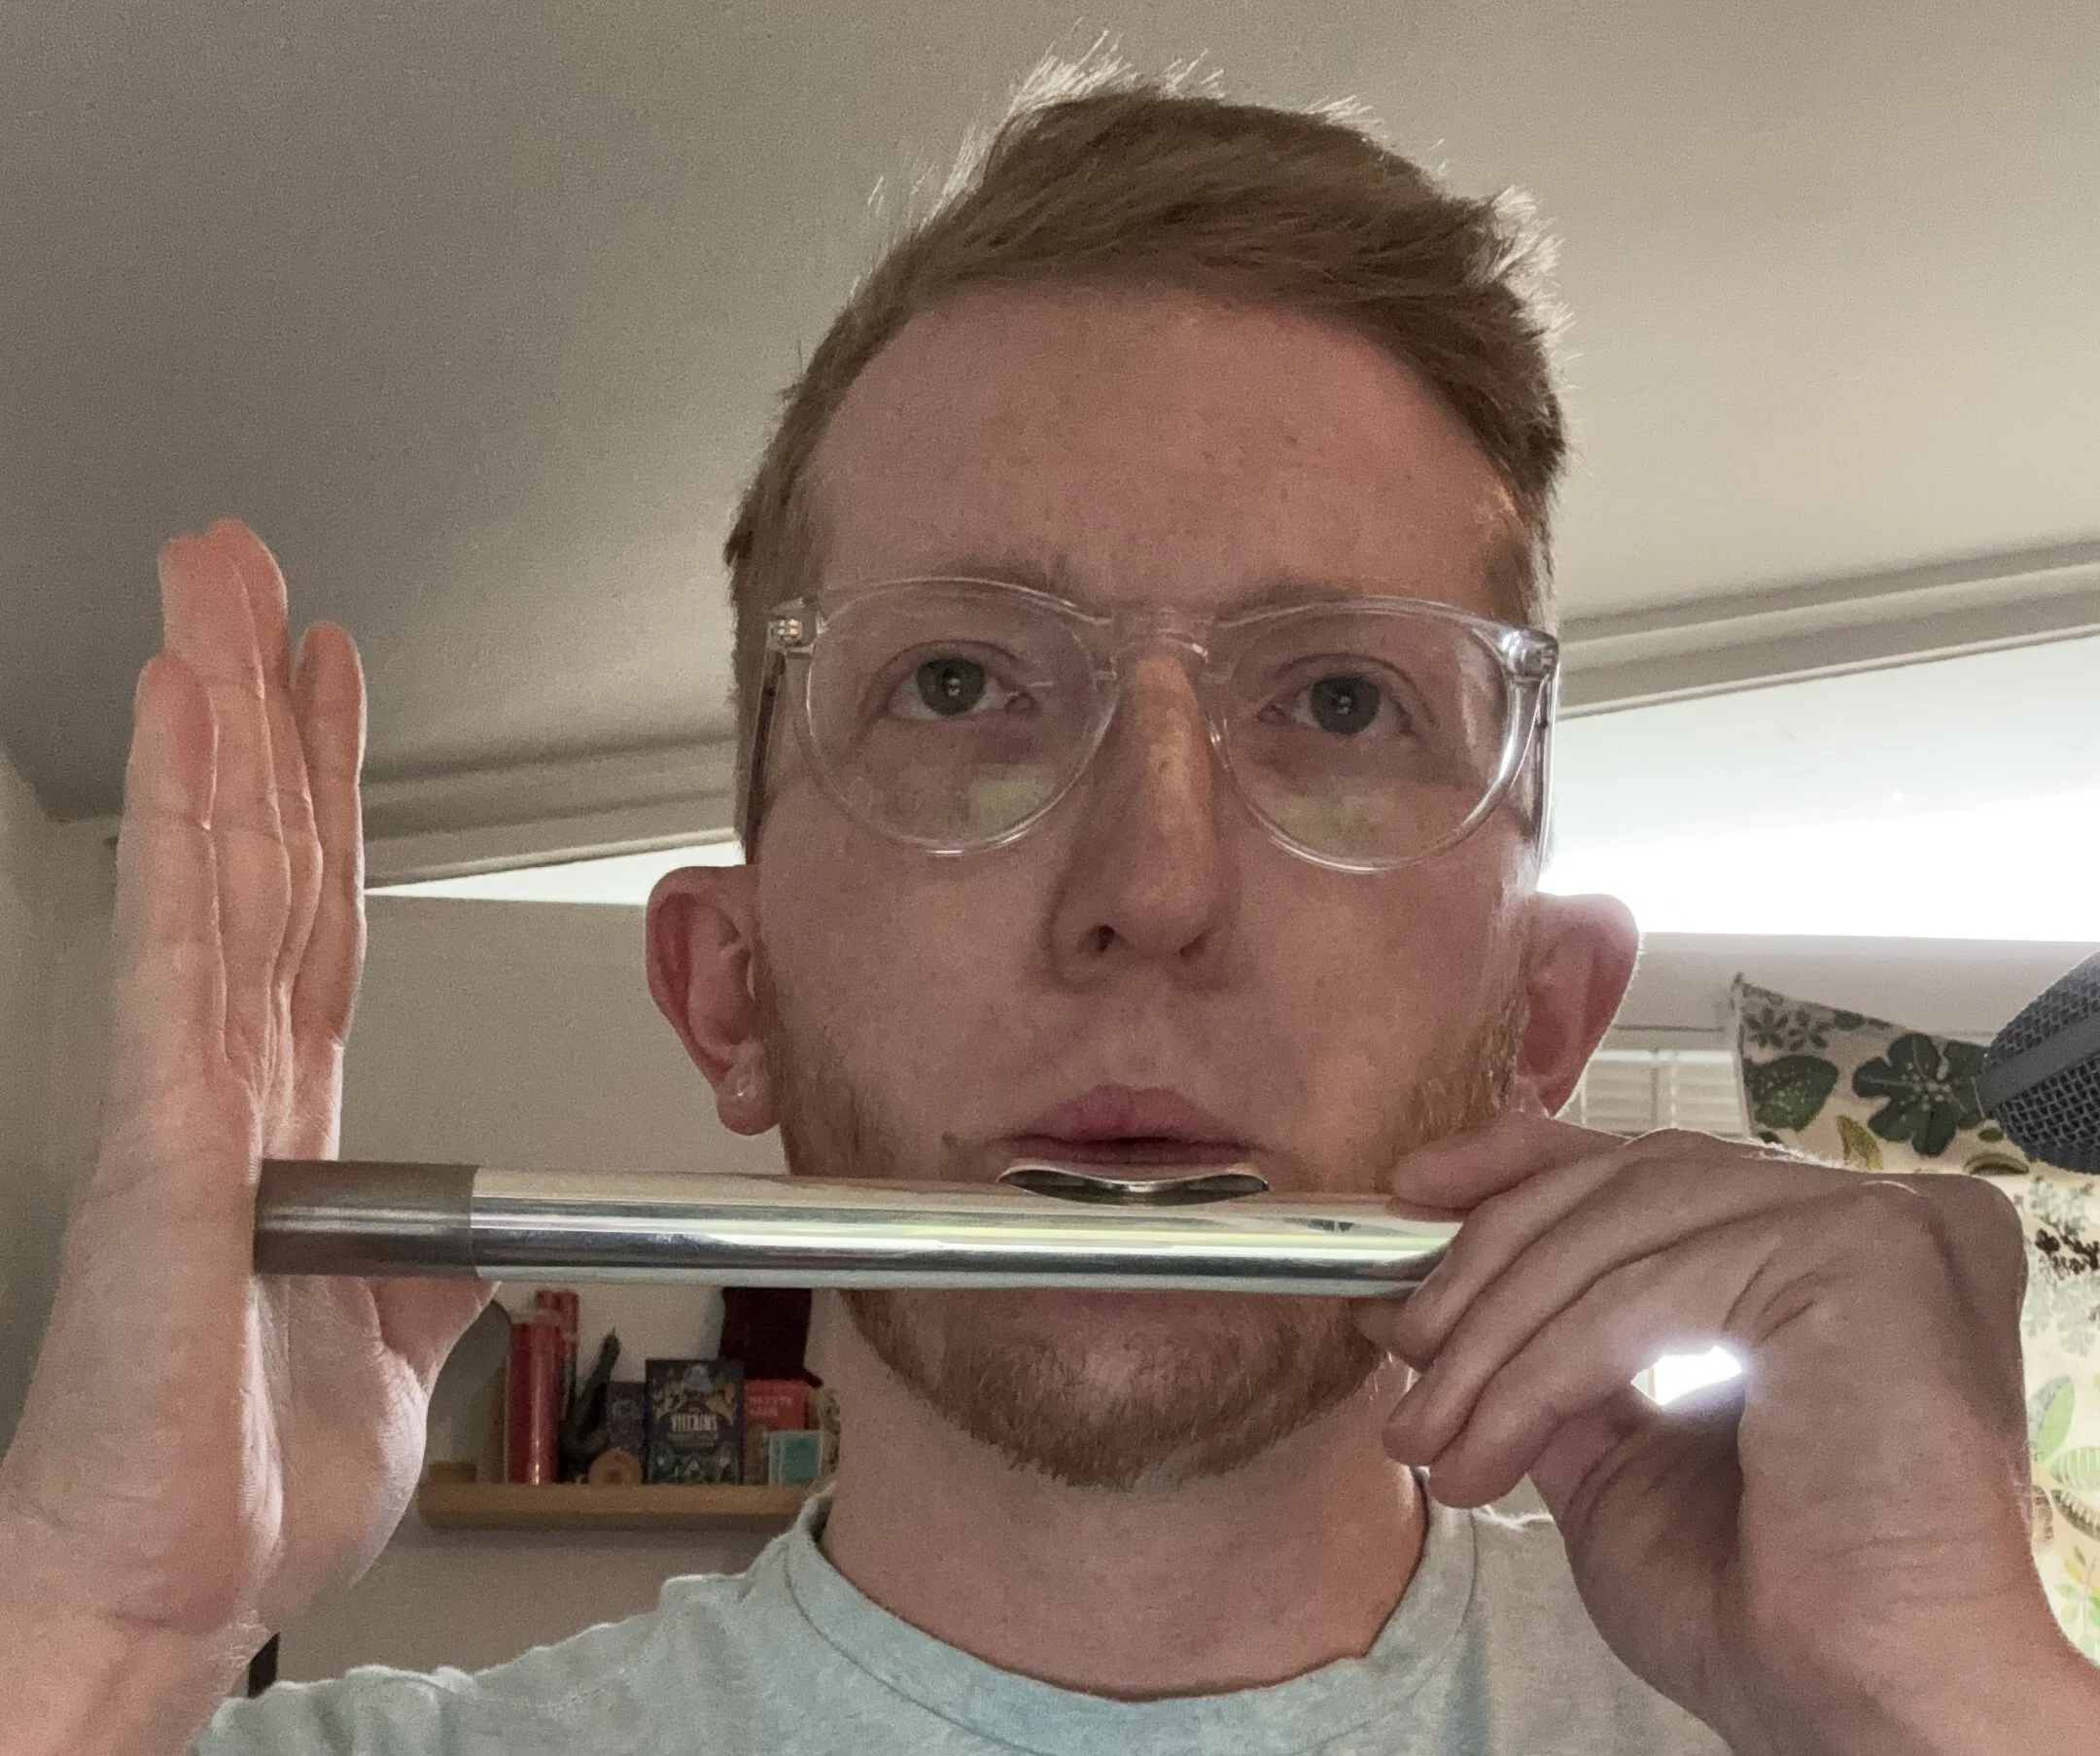
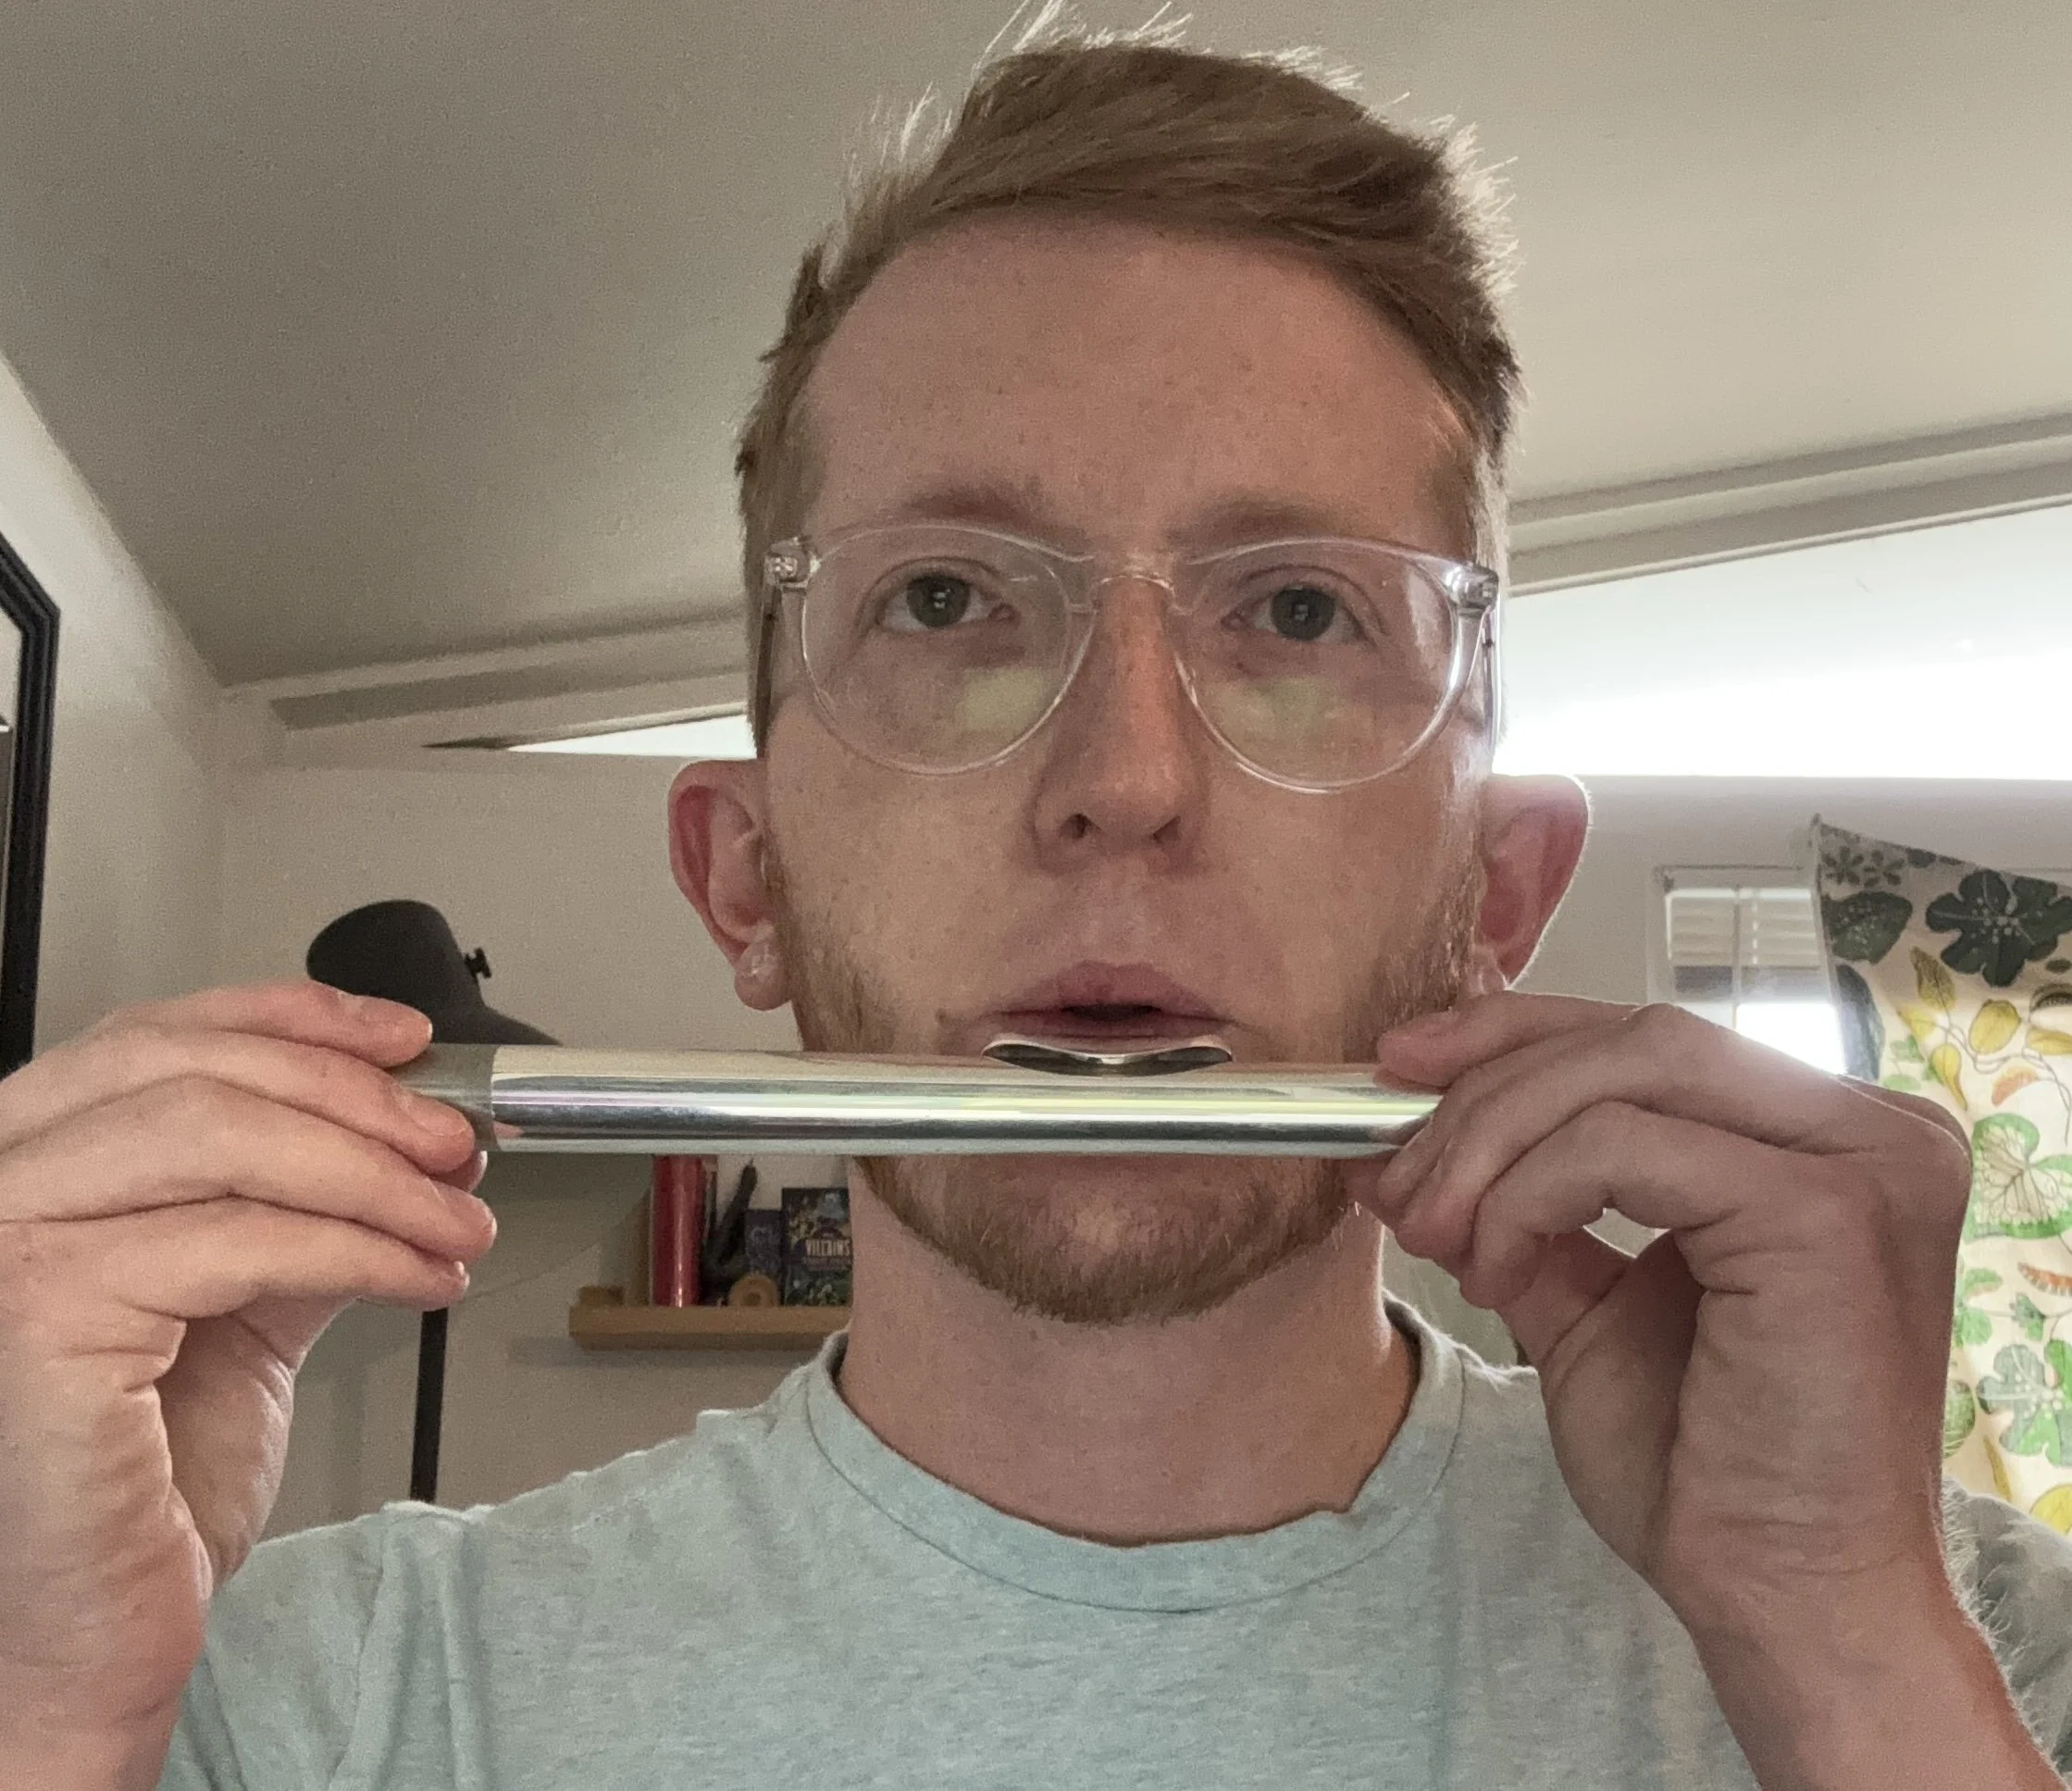
Now take your flute head joint only and place the lip plate under the fleshy (pink) part of your lips and cover 1/4th to 1/3rd of the embouchure hole with the bottom lip. Think of placing the lip plate in the crevice between your chin and lower lip, and allowing the lip plate to “hold up” the bottom lip. This may vary player-to-player!
The head joint can be played either covered or uncovered. We will use both in the exercise below.
Exercise 1: Head joint covered - low “A”:
Now, while covering the open end of the head joint, take a deep breath, form your embouchure, and start your air stream with a “tooh” syllable tongue while directing your air stream into the embouchure hole. Air will go into the embouchure hole more than you think! If done correctly, you should hear a low “A”. Click the audio sample for low “A” for an example.
Exercise 2: Head joint uncovered - high “A”:
Now try repeating the same steps, but with the head joint un-covered and you should hear a high “A”. Click the audio sample for high “A” for an example.
If you find that you are not matching the pitches in the example, there may be several causes.
Below are some troubleshooting tips to help set your embouchure.
Troubleshooting Tone:
Problem: No Tone, Mostly Air
Cause: Embouchure too tight/lips and corners pulled back.
Solution: More “ooh” to push lips slightly forward and off front teeth,
Problem: “Airy” tone
Cause: Opening of lips too large or misdirection of air stream. Incorrect placement of head joint.
Solution: Direct air more into the embouchure hole. Flute sitting too high on lip or too low on chin.
Problem: Flat pitch (pitch too low)
Cause: Head joint rolled in too far or the lips are covering too much of the embouchure hole.
Solution: Roll out the head joint or cover slightly less embouchure hole with lips.
Problem: Playing too high when trying to play head joint “A”
Cause: The air stream is too fast (overblowing).
Solution: Direct air more slowly.